Suunto 9 User Guide
Features
Recording an exercise
In addition to 24/7 activity monitoring, you can use your watch to record your training sessions or other activities to get detailed feedback and follow your progress.
To record an exercise:
- Put on a heart rate sensor (optional).
- Swipe down or press the upper button to open the launcher.
Tap the exercise icon or press the middle button.
Swipe up or down to scroll through the sport modes and tap on the one you want to use. Alternatively, scroll with the upper and lower buttons and select with the middle button.
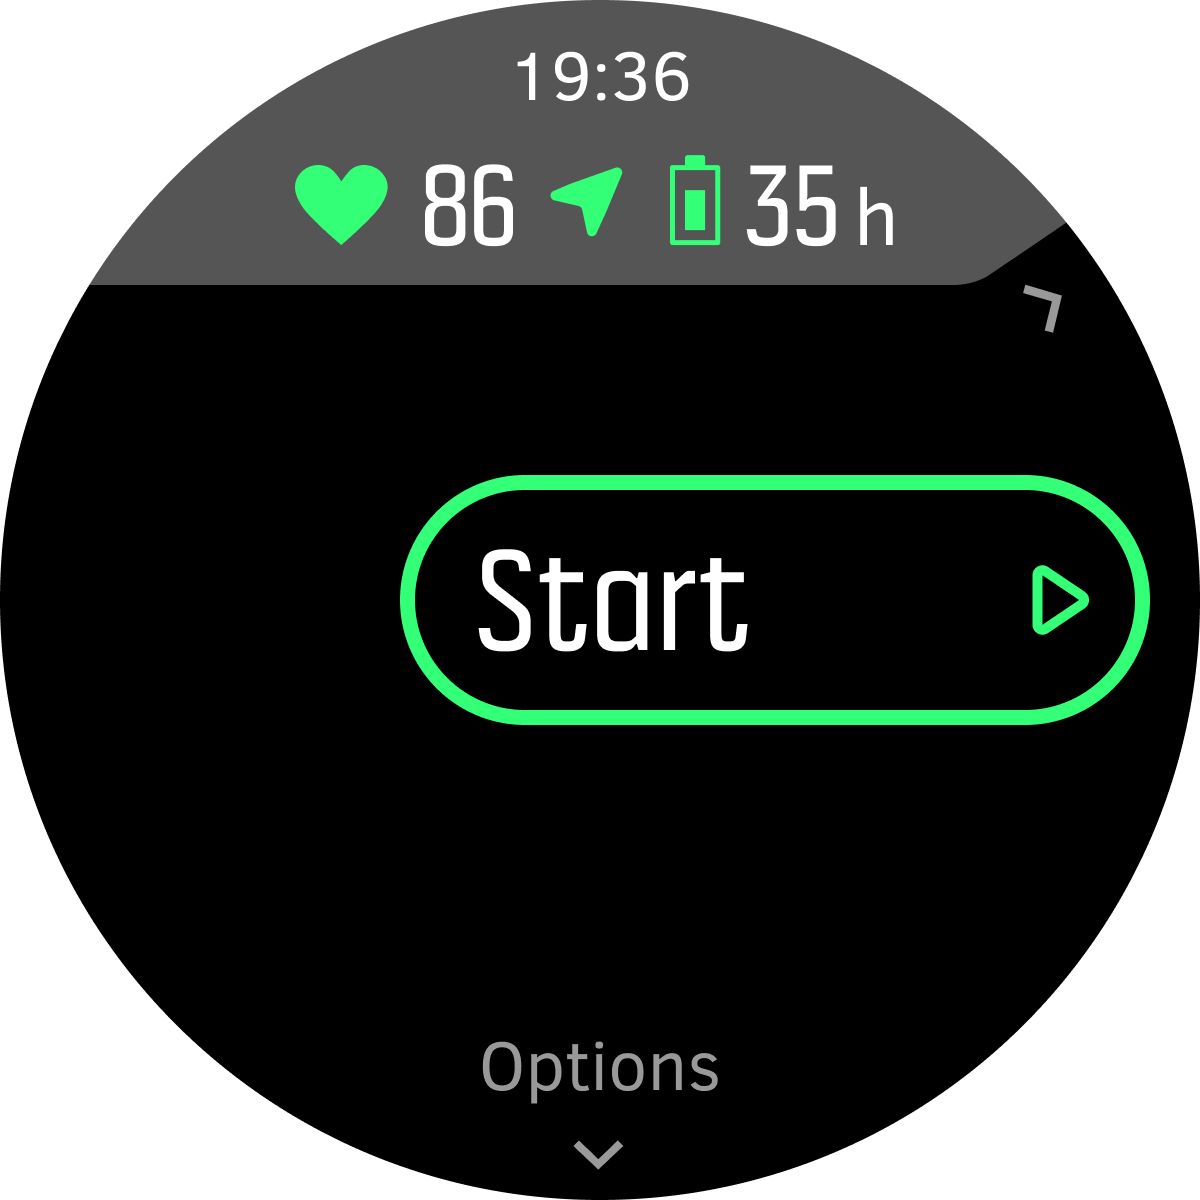
Above the start indicator, a set of icons appear, depending on what you are using with the sport mode (such as heart rate and connected GPS). The arrow icon (connected GPS) flash gray while searching and turn green once a signal is found. The heart icon (heart rate) flash gray while searching and when once a signal is found, it turns into a colored heart attached to a belt if you are using a heart rate sensor or a colored heart without the belt if you are using the optical heart rate sensor. There is also a battery estimation visible, that tells you how many hours you can exercise before the battery runs out.
If you are using a heart rate sensor but the icon turns to green only (meaning that the optical heart rate sensor is active), check that the heart rate sensor is paired, see Pairing PODs and sensors, and select the sport mode again.
You can wait for each icon to turn green or start the recording as soon as you like by pressing the middle button.
Once the recording is started, the selected heart rate source is locked and cannot be changed during the ongoing training session.
While recording, you can switch between displays with the middle button or by using the touch screen if it is enabled.
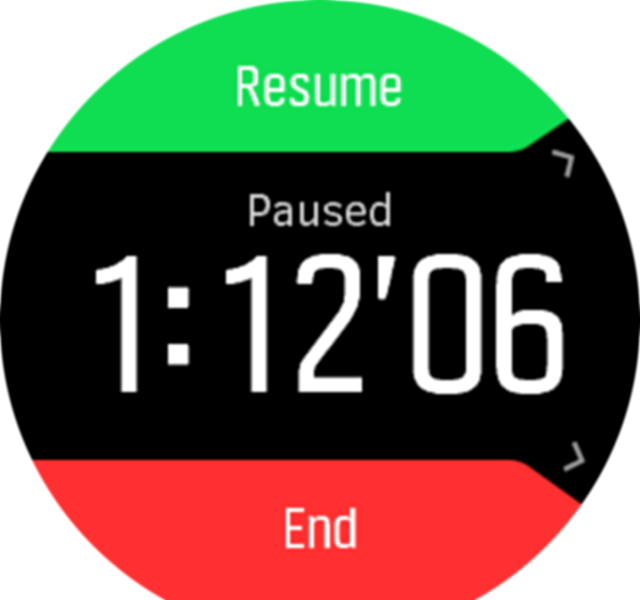
Press the upper button to pause the recording. Stop and save with the lower button or continue with the upper button.
If the sport mode you selected has options, such as setting a duration target, you can adjust them before starting the recording by swiping up or pressing the lower button. You can also adjust sport mode options while recording by keeping the middle button pressed.
During the recording, you can tap on the screen to get a pop-up that shows current time and battery level.
If you are using a multisport mode, switch sports by keeping the upper button pressed.
After you stop the recording, you are asked how you felt. You can answer or skip the question. (See Feeling) Then you get a summary of the activity that you can browse through with the touch screen or buttons.
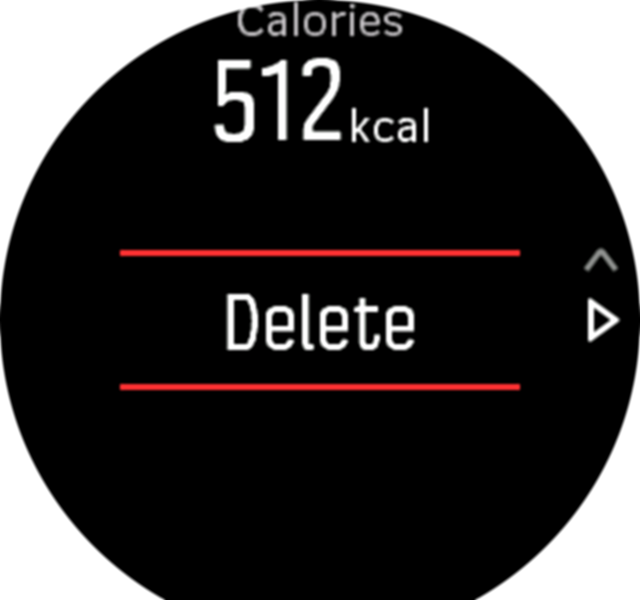
If you made a recording you don't want to keep, you can delete the log entry by scrolling to the bottom of the summary and tapping the delete button. You can also delete logs in the same way from the logbook.
Sport modes
Your watch comes with a wide range of pre-defined sport modes. The modes are designed for specific activities and purposes, from a casual walk outside to a triathlon race.
When you record an exercise (see Recording an exercise), you can swipe up and down to see the short list of sport modes. Tap the icon at the end of the short list to view the complete list and see all sport modes.
![]()
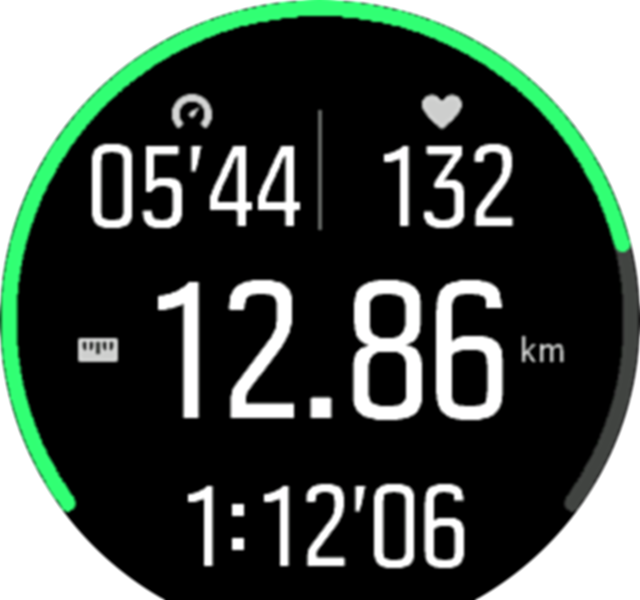
Each sport mode has a unique set of displays that show different data depending on the selected sport mode. You can edit and customize the data shown on the watch display during your exercise with Suunto app.
Learn how to customize sport modes in Suunto app (Android) or Suunto app (iOS).
Using targets when exercising
It is possible to set different targets with your Suunto 9 when exercising.
If the sport mode you selected has targets as an option, you can adjust them before starting the recording by swiping up or pressing the lower button.
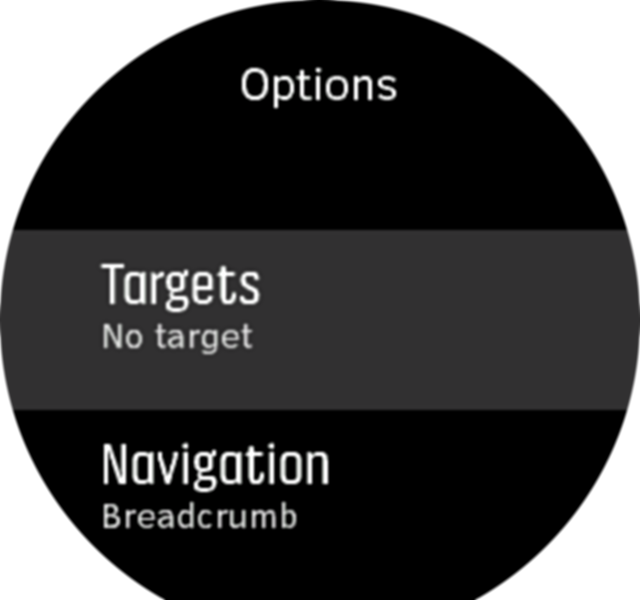
To exercise with general target:
- Before you start an exercise recording, swipe up or press the lower button to open the sport mode options.
- Tap Target or press the middle button.
- Select Duration or Distance.
- Select your target.
- Swipe right to go back to the sport mode options.
When you have general targets activated, a target gauge is visible on every data display showing your progress.
You will also receive a notification when you have reached 50% of your target and when your selected target is fulfilled.
To exercise with intensity target:
- Before you start an exercise recording, swipe up or press the lower button to open the sport mode options.
- Tap Intensity zones or press the middle button.
- Select HR zones, Pace zones or Power zones.
(The options depends on selected sport mode and if you have a power pod paired with the watch). - Select your target zone.
- Swipe right to go back to the sport mode options.
Navigating during exercise
You can navigate a route or to a POI while you are recording an exercise.
The sport mode you are using needs to have GPS enabled to be able to access the navigation options. If the sport mode GPS accuracy is OK or Good, when you select a route or POI, the GPS accuracy is changed to Best.
To navigate during exercise:
- Create a route or POI in Suunto app and sync your watch if you haven't done so already.
- Select a sport mode that uses GPS and then swipe up or press the lower button to open the options. Alternatively, start your recording first, and then keep the middle button pressed to open the sport mode options.
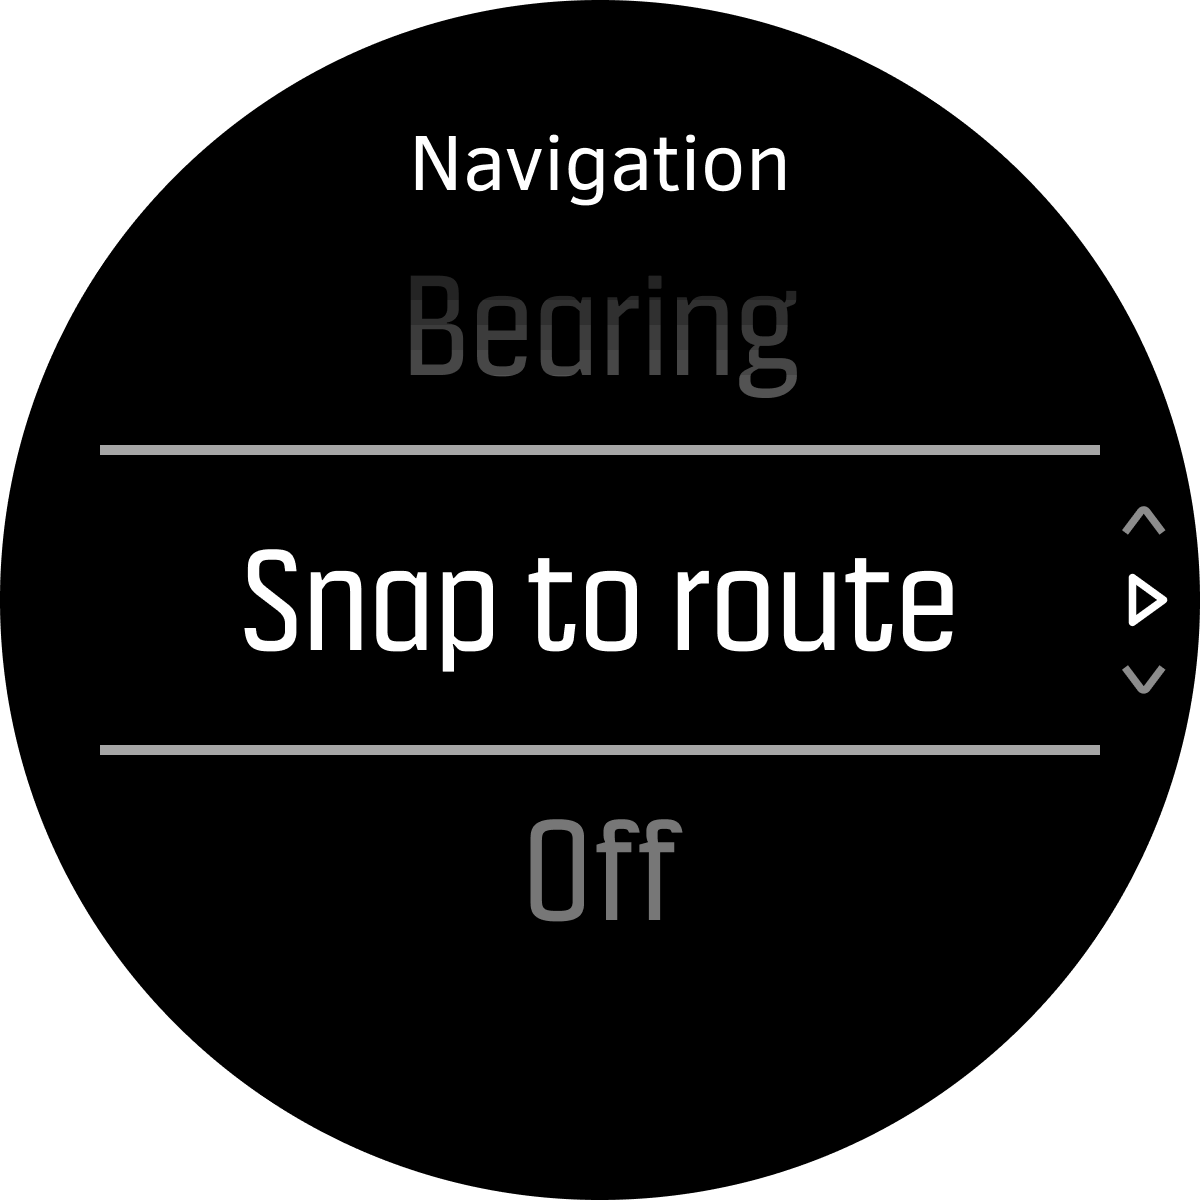
- Scroll to Navigation and tap the setting or press the middle button.
- Swipe up and down or press the upper and lower buttons to select a navigation option and press the middle button.
- Select the route or POI you want to navigate and press the middle button. Then press the upper button to start navigating.
If you have not started the exercise recording yet, the last step takes you back to the sport mode options. Scroll up to the start view and start your recording as normal.
While exercising, swipe right or press the middle button to scroll to the navigation display where you will see the route or POI that you selected. For more information on the navigation display, see Navigating to a POI and Routes.
While in this display you can swipe up or press the lower button to open your navigation options. From the navigation options, you can, for example, select a different route or POI, check your current location coordinates, as well as end navigation by selecting Breadcrumb.
Snap to route
In urban surroundings the GPS can struggle to follow you correctly. If you select one of you predefined routes and follow that route, the watch GPS is used purely to locate where you are on the predefined route, not actually creating a track from the run. The recorded track will be identical to the route used for the run.
To use Snap to route during exercise:
- Create a route in Suunto app and sync your watch if you haven't done so already.
- Select a sport mode that uses GPS and then swipe up or press the lower button to open the options.
- Scroll to Navigation and tap it or press the middle button.
- Select Snap to route and press the middle button.
- Select the route you want to use and press the middle button.
- Press the upper button or tap Navigate.
Start your exercise as normal and follow the selected route.
Battery power management
Your Suunto 9 has a battery power management system uses intelligent battery technology to help ensure you watch does not run out of power when you need it most.
Before you start recording an exercise (see Recording an exercise) you see an estimate of how much battery life you have left in the current battery mode.
There are four predefined battery modes; Performance (default), Endurance, Ultra and Tour. Changing between these modes will change the lifetime of the battery but also change the performance of the watch.
By default, Ultra and Tour mode disable all HR tracking (both wrist and chest). To enable HR tracking (in Ultra and Tour mode) go to Options under the start indicator.
While in the start display, tap Options » Battery mode to change battery modes and see how each mode affects the performance of the watch.
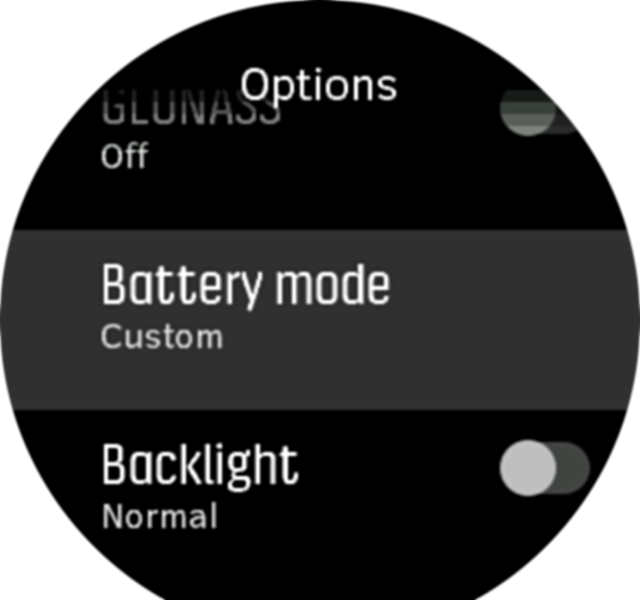
You can also quickly change the battery mode in the start display by pressing the upper button.
In addition to these four predefined battery modes, you can create a custom battery mode with your own desired settings. The custom mode is specific for that sport mode, making it possible to create a custom battery mode for every sport mode.
If while exercising you start navigating or use navigation data like estimated time of arrival (ETA), the GPS goes to Best, regardless of the battery mode.
Battery notifications
In addition to the battery modes, your watch uses smart reminders to help you ensure you have enough battery life for your next adventure. Some reminders are preemptive based on, for example, your activity history. You also get notified, for example, when the watch notices you are running low on battery while recording an activity. It will automatically suggest changing to a different battery mode.
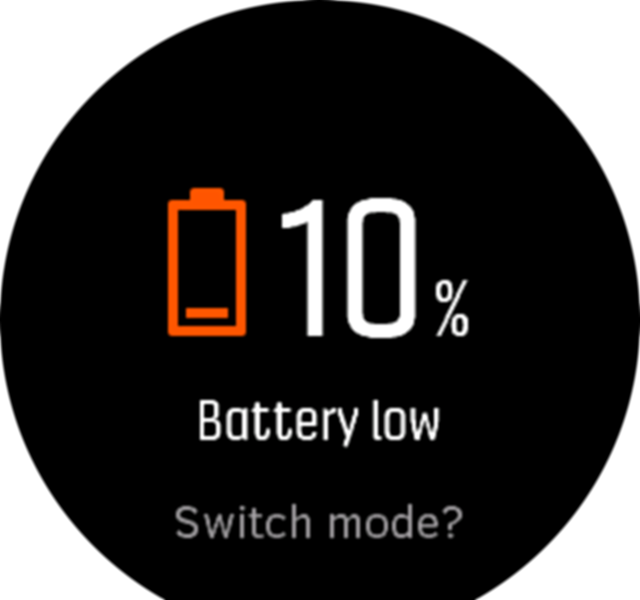
Your watch will alert you once when the battery is at 20% and again at 10%.
Swimming
You can use your Suunto 9 for swimming in pools or openwater.
When you use a pool swimming sport mode, the watch relies on the pool length to determine distance. You can change the pool length as needed under the sport mode options before you start swimming
Openwater swimming relies on GPS to calculate distance. Because GPS signals do not travel under water, the watch needs to come out of the water periodically, such as with the freestyle stroke, to get a GPS fix.
These are challenging conditions for GPS, so it is important that you have a strong GPS signal before you jump in the water. To ensure good GPS, you should:
- Sync your watch with your online account before you go swimming to optimize your GPS with the latest satellite orbit data.
- After you select an openwater swimming sport mode and a GPS signal is acquired, wait at least three minutes before starting your swim. This gives the GPS time to establish strong positioning.
Interval training
Interval workouts are a common form of training consisting of repetitive sets of high and low intensity efforts. With Suunto 9, you can define in the watch your own interval training for each sport mode.
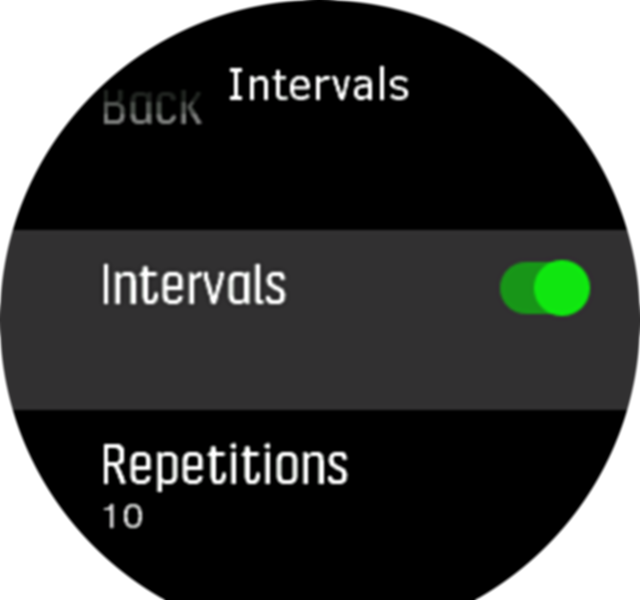
When defining your intervals, you have four items to set:
- Intervals: on/off toggle that enables interval training. When you toggle this on, an interval training display is added to your sport mode.
- Repetitions: the number of interval + recovery sets you want to do.
- Interval: the length of your high intensity interval, based on distance or duration.
- Recovery: the length of your rest period between intervals, based on distance or duration.
Keep in mind that if you use distance to define your intervals, you need to be in a sport mode that measures distance. The measurement can be based on GPS, or from a foot or bike POD, for example.
If you are using intervals, you cannot activate navigation.
To train with intervals:
- Before you start an exercise recording, swipe up or press the lower button to open the sport mode options.
- Scroll down to Intervals and tap the setting or press the middle button.
Toggle intervals on and adjust the settings described above.
Scroll back up to the start view and start your exercise as normal.
Swipe left or press the middle button until you reach the intervals display and press the upper button when you are ready to start your interval training.

If you want to stop the interval training before you have completed all your repetitions, keep the middle button pressed to open the sport mode options and toggle off Intervals.
While you are in the intervals display, buttons work as normal, for example, pressing the upper button pauses the exercise recording, not just the interval training.
After you have stopped your exercise recording, interval training is automatically toggled off for that sport mode. The other settings, however, are maintained so you can easily start the same workout the next time you use the sport mode.
Display theme
To increase the readability of your watch screen while exercising or navigating, you can change between light and dark themes.
With the light theme, the display background is light and the numbers dark.
With the dark theme, the contrast is reverse, with the background dark and the numbers light.
The theme is a global setting that you can change in your watch from any of your sport mode options.
To change display theme in sport mode options:
- Go to any sport mode and swipe up or press the lower button to open the sport mode options.
- Scroll down to Theme and press the middle button.
- Switch between Light and Dark by swiping up or down or by pressing the upper and lower buttons, and accept with the middle button.
- Scroll back up to exit the sport mode options, and start (or exit) the sport mode.
Autopause
Autopause pauses the recording of your exercise when your speed is less than 2 km/h (1.2 mph). When your speed increases to more than 3 km/h (1.9 mph), the recording continues automatically.
You can turn autopause on/off for each sport mode the sport mode settings in the watch before you start your exercise recording.
If autopause is on during a recording, a pop-up notifies you when the recording is paused automatically.
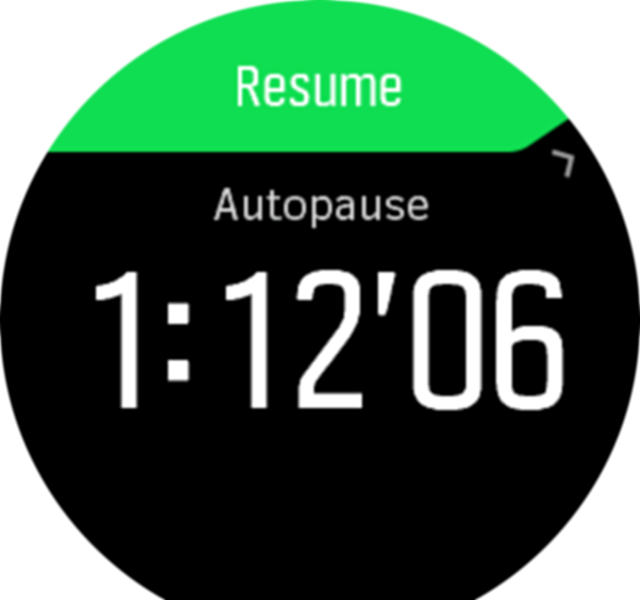
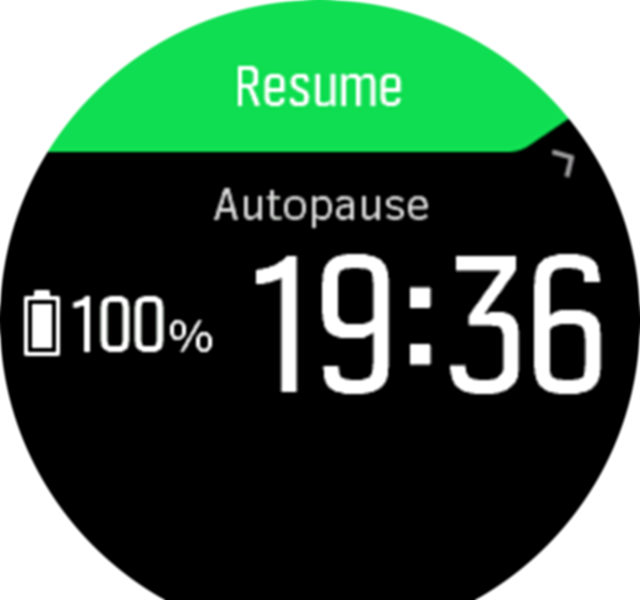
Tap the resume pop-up to check the current time and battery level.
You can let the recording resume automatically when you start moving again, or manually resume from the pop-up screen by pressing the upper button.
Feeling
If you are training regularly, following how you feel after each session is an important indicator of your overall physical condition. A coach or personal trainer can also use your feeling trend to track your progress over time.
There are five degrees of feeling to choose from:
- Poor
- Average
- Good
- Very good
- Excellent
What these options mean exactly are up to you (and your coach) to decide. The important thing is that you use them consistently.
For each training session, you can record how you felt in the watch directly after stopping the recording by answering the 'How was it?' question.
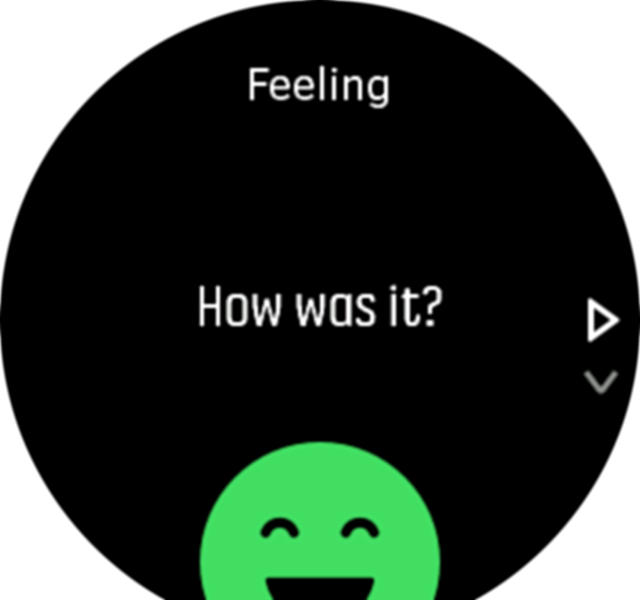
You can skip answering the question by pressing the middle button.