Suunto Spartan Sport Wrist HR User Guide - 2.6
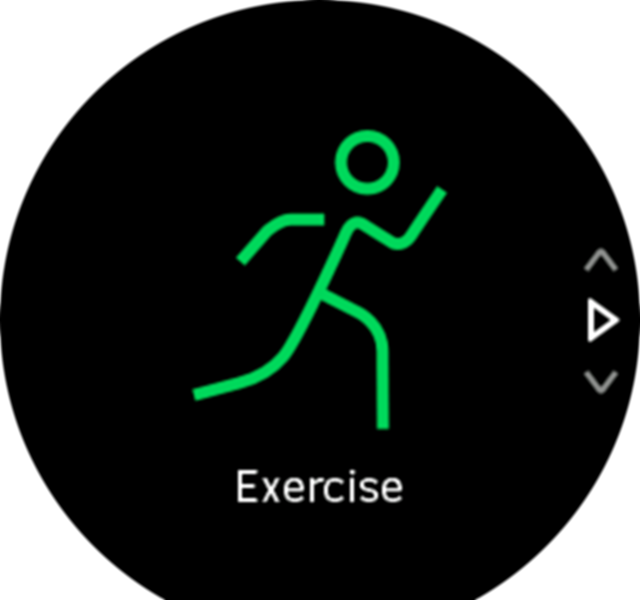
Recording an exercise
In addition to 24/7 activity monitoring, you can use your watch to record your training sessions or other activities to get detailed feedback and follow your progress.
To record an exercise:
- Put on a heart rate sensor (optional).
- Swipe down or press the upper button to open the launcher.
Tap the exercise icon or press the middle button.
Swipe up or down to scroll through the sport modes and tap on the one you want to use. Alternatively, scroll with the upper and lower buttons and select with the middle button.
Above the start indicator, a set of icons appear, depending on what you are using with the sport mode (such as heart rate and connected GPS). The arrow icon (connected GPS) flash gray while searching and turn green once a signal is found. The heart icon (heart rate) flash gray while searching and when once a signal is found, it turns into a colored heart attached to a belt if you are using a heart rate sensor or a colored heart without the belt if you are using the optical heart rate sensor.
If you are using a heart rate sensor but the icon turns green, check that the heart rate sensor is paired, see Pairing PODs and sensors, and select the sport mode again.
You can wait for each icon to turn green or red or start the recording as soon as you like by pressing the middle button.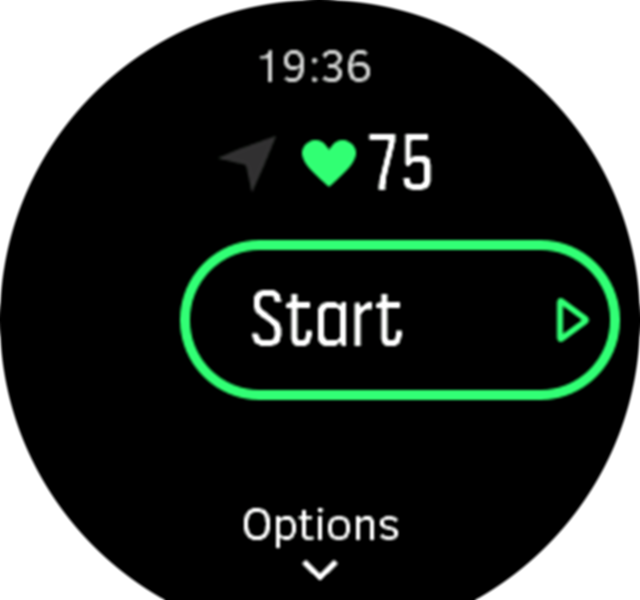
Once the recording is started, the selected heart rate source is locked and cannot be changed during the ongoing training session.
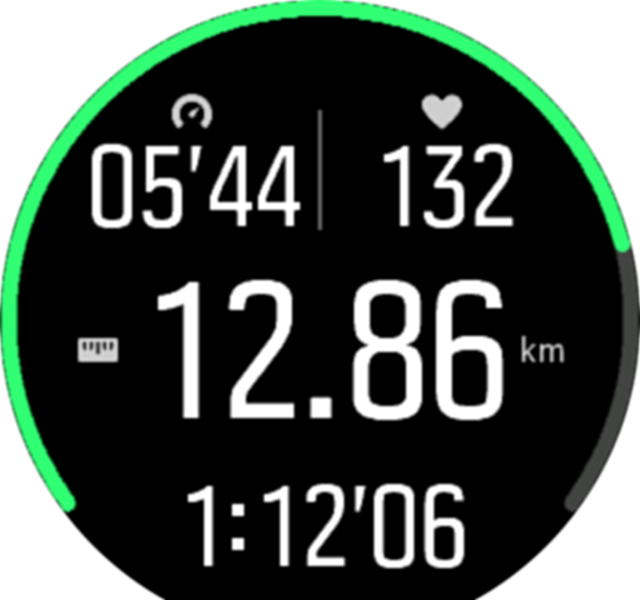
While recording, you can switch between displays with the middle button or by using the touch screen if it is enabled.
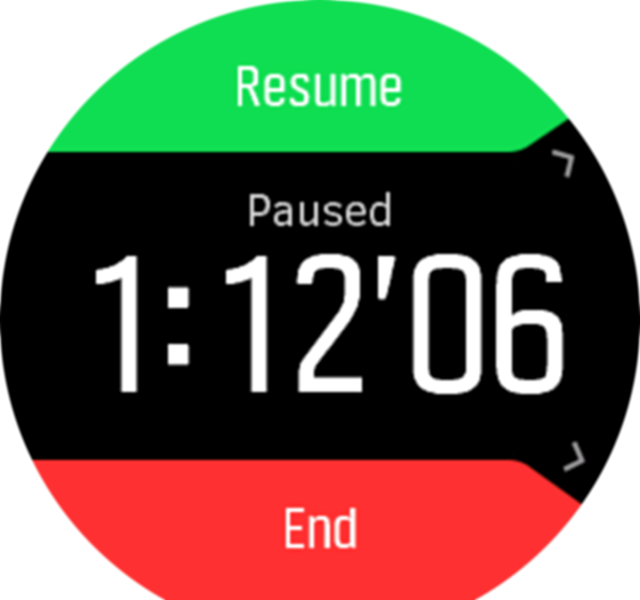
Press the upper button to pause the recording. Stop and save with the lower button or continue with the upper button.
If the sport mode you selected has options, such as setting a duration target, you can adjust them before starting the recording by swiping up or pressing the lower button. You can also adjust sport mode options while recording by keeping the middle button pressed.
During the recording, you can tap on the screen to get a pop-up that shows current time and battery level.
If you are using a multisport mode, switch sports by keeping the upper button pressed.
After you stop the recording, you are asked how you felt. You can answer or skip the question. (See Feeling) Then you get a summary of the activity that you can browse through with the touch screen or buttons.
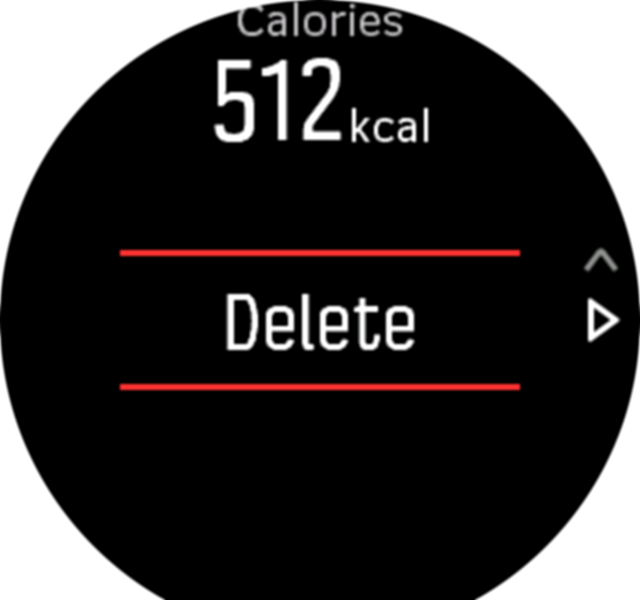
If you made a recording you don't want to keep, you can delete the log entry by scrolling to the bottom of the summary and tapping the delete button. You can also delete logs in the same way from the logbook.
Using targets when exercising
It is possible to set different targets with your Suunto Spartan Sport Wrist HR when exercising.
If the sport mode you selected has targets as an option, you can adjust them before starting the recording by swiping up or pressing the lower button.
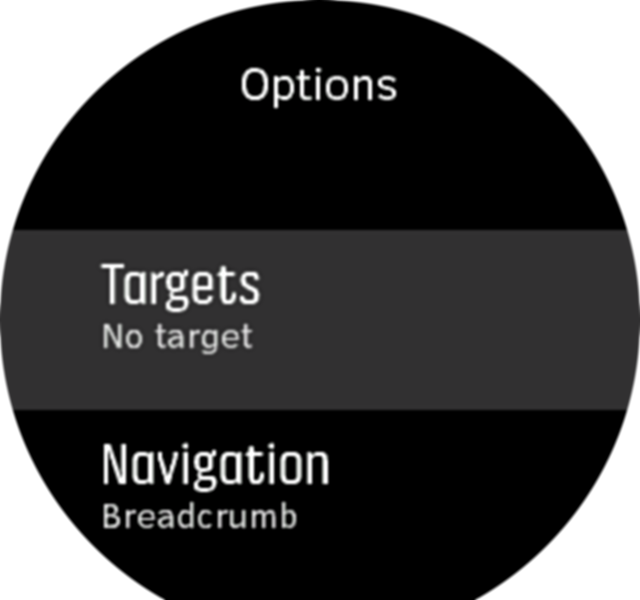
To exercise with general target:
- Before you start an exercise recording, swipe up or press the lower button to open the sport mode options.
- Tap Target or press the middle button.
- Select Duration or Distance.
- Select your target.
- Swipe right to go back to the sport mode options.
When you have general targets activated, a target gauge is visible on every data display showing your progress.
You will also receive a notification when you have reached 50% of your target and when your selected target is fulfilled.
To exercise with intensity target:
- Before you start an exercise recording, swipe up or press the lower button to open the sport mode options.
- Tap Intensity zones or press the middle button.
- Select HR zones, Pace zones or Power zones.
(The options depends on selected sport mode and if you have a power pod paired with the watch). - Select your target zone.
- Swipe right to go back to the sport mode options.
Navigating during exercise
You can navigate a route or to a POI while you are recording an exercise.
The sport mode you are using needs to have GPS enabled to be able to access the navigation options. If the sport mode GPS accuracy is OK or Good, when you select a route or POI, the GPS accuracy is changed to Best.
To navigate during exercise:
- Create a route or POI in Suunto app and sync your watch if you haven't done so already.
- Select a sport mode that uses GPS and then swipe up or press the lower button to open the options. Alternatively, start your recording first, and then keep the middle button pressed to open the sport mode options.
- Scroll to Navigation and tap the setting or press the middle button.
- Swipe up and down or press the upper and lower buttons to select a navigation option and press the middle button.
- Select the route or POI you want to navigate and press the middle button. Then press the upper button to start navigating.
If you have not started the exercise recording yet, the last step takes you back to the sport mode options. Scroll up to the start view and start your recording as normal.
While exercising, swipe right or press the middle button to scroll to the navigation display where you will see the route or POI that you selected. For more information on the navigation display, see Navigating to a POI and Routes.
While in this display you can swipe up or press the lower button to open your navigation options. From the navigation options, you can, for example, select a different route or POI, check your current location coordinates, as well as end navigation by selecting Breadcrumb.
Sport mode power saving options
To extend battery life while using sport modes with GPS, your biggest gains come from adjusting GPS accuracy (see GPS accuracy and power saving). To extend battery life further, you can adjust use the following power saving options:
- Display color: by default, the display uses the full range of colors available. When you enable the Low color option, the display uses fewer colors which reduces the amount of battery power needed.
- Display timeout: normally, the display is always on during your exercise. When you turn on the display timeout, the display turns off after 10 seconds to save battery power. Press any button to turn the display back on.
To activate power saving options:
- Before you start an exercise recording, swipe up or press the lower button to open the sport mode options.
- Scroll down to Power saving and tap the setting or press the middle button.
- Adjust the power saving options as you want and then swipe right or keep the middle button pressed to exit the power saving options.
- Scroll back up to the start view and start your exercise as normal.
If the display timeout is on, you can still get mobile notifications as well as sound and vibration alerts. Other visual aids such as the autopause pop-up are not shown.