The first two articles (here and here) in this series on way-finding were about skills and preparation. In this one, our resident navigation guru Terho Lahtinen take the training wheels off. Now he distills the essentials to stay on track when you’re on an adventure out in the backcountry.
Terho has been map reading and navigating since he was six years old, when his father taught him. His love of the outdoors grew in the Boy Scouts, and eventually he competed in orienteering at the national level for Finland for more than 20 years, and was lead navigator for adventure racing team Salomon X-Act which competed around the globe for eight years.
“Mountain sports took on a bigger role in my life while adventure racing,” Terho says. “I was the lead navigator in our team. Nowadays, I’m hiking, biking and ski-touring in the mountains as often as I can get away with.”
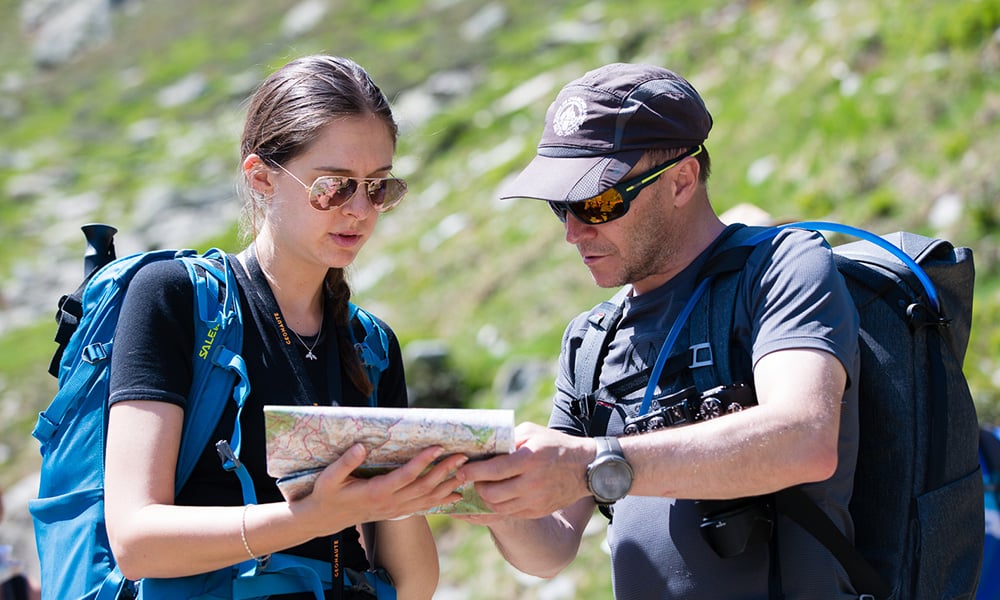
Clearly explain the route ahead to your group. This ensures everyone learns. © Arc'teryx / Piotr Drozdz
Do a gear check
You’ve just parked at the roadend, get out of your car, and gaze up at the mountains around you. You and your group will be alone there. It’s time to get locked in.
First things first: check you have all the essential gear packed. The right maps, head torches, first aid kit, your trusty Suunto 9 or other GPS, maybe your avalanche safety gear, and that all electronic devices are fully charged.
Brief the group
Before charging up the trail, get your group together and hold a short briefing. This ensures everyone is on the same page and means less questions or confusion later. Talk about your intention for the trip, for example to stay safe, have fun, and be patient with one another.
Then do an overview of the days ahead; where you are going, distances each day, points of interests, and where you’ll be sleeping. Lastly, preview the day ahead, the first leg of the day and what you will be encountering, and when you’ll be having lunch.
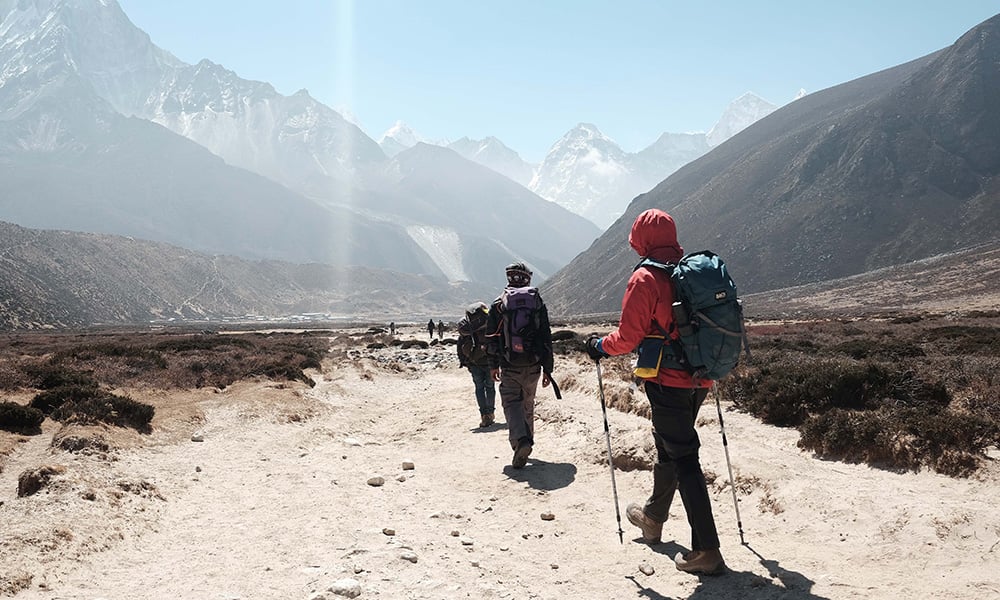
Remember to factor in breaks and toilet stops. Photo by Ted Bryan Yu on Unsplash
Keep a schedule
Knowing what you should encounter on each leg of your trip is the key to staying on track. Terho advises scheduling check points (to reach specific locations at particular times), consider safety margins, and when to turn back or change plans, perhaps due to tiredness, darkness, or inclement weather. Review the second article in this series to consider pace and average travelling time. Pause for a few minutes between legs, look at your map, and identify what’s coming up.
“It’s good to have an overall idea of the day, and a more detailed understanding of the next logical leg of the route (usually a few kilometers or the next hour or so),” Terho explains. “Always identify the next clear navigation point you are aiming at to make sure you are staying on the planned route.”
Use handrails
Handrails are distinctive, guiding terrain features that can guide you to your destination. For example, you might go off trail in a certain direction until you reach a creek you’ve identified on the map. Then, you might use the creek as a handrail to find a bridge.
“Suitable handrails are hills, ridges, contours, ditches, lake sides, rivers, or any other long terrain feature that take you towards the desired location,” Terho says. “Be sure you follow the hand rail in the right direction!”
Aim with landmarks
In addition to hand rails, you can also use distinctive landmarks near your next destination as navigation aids.
“Instead of trying to directly find your destination, identify a clear terrain feature on the map that’s near your destination and find that first,” Terho says. “Then you’re sure to get close to where you want and then use more detailed navigation for the last part of the leg.”
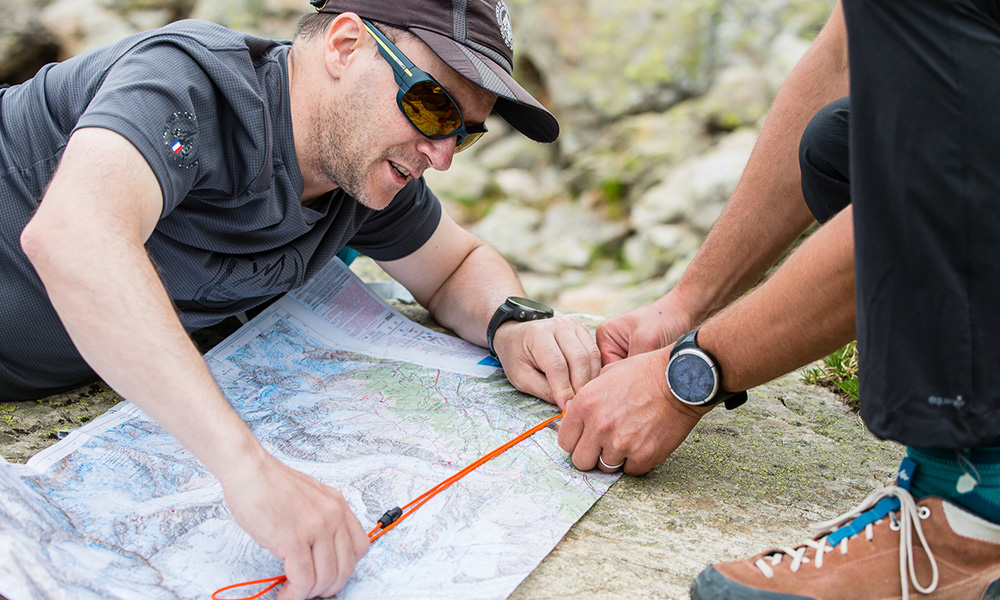
The direct route isn't always the fastest route. Study the terrain. © Arc'teryx / Piotr Drozdz
Test your memory
Building on the previous two tips, Tehro suggests you test your memory to see what you recognise. First, review the plan for the next leg of your journey. Look at your map and identify the handrails and distinctive features or landmarks you should see on the way to your next destination. After getting a handle on that, put away your map and follow your plan to the next destination. How many times do you need to look at the map?
“Mentally visualizing the upcoming route in advance and memorizing the essential features, trail forks, points of interest, is a useful technique,” Terho explains. “It helps you to recognize those locations on the go and gives you freedom to put your map or navigation device away and enjoy the surroundings and the activity itself.”
Be willing to hit pause
If you start to get the feeling you have gone astray, don’t keep going. Pause and gather yourself. One of the things that gets people in trouble in the backcountry is when they go off course there they double down and keep moving forward rather stopping, taking stock, and turning back if need be.
“If you are uncertain, stop and check the location with your map,” Terho says. “If you don’t know where you are, don’t continue until you find it out.”
Technology rocks
While for way-finding purists, navigation should only involve a map and a compass, let us speak honestly here; technology is awesome and makes things easier for many of us.
“If you upload your planned route to the GPS in advance, you can immediately see from the screen if you are off course and where the right course is in relation to your current location,” Terho says. “Most GPS also have an off-course alarm, notifying you if you left the intended path.”
A Suunto 9, or other GPS device, includes an altimeter, which is a useful navigational support. It tells you your current elevation to help you identify where you are on the map. You can then stay at the correct elevation for your course. For example, as you cross a mountain saddle.
Getting back on track
In the event you do go off course, remember that not knowing exactly where you are is not the same as being lost. It’s important to stay calm if you realize you don’t know your location. Take a break, sit down, and think things through.
“Start off by spotting landmarks around you to match them with the map,” Terho advises. “Think about where the last point was on the map where you knew where you were, and how long ago, in terms of time, that was. Work out how far you have traveled since then, what you’ve seen around you, and where you might have ended up. When you identify your location, plan the best option to get back on track.”
You have three options: You can follow your track back to the point where you made a wrong turn. Alternatively, you can follow a new route to get back to your planned course. And lastly, you can follow a new route directly to the next destination.
“The tactic you choose depends on the terrain, the skills and experience of your group, and the time of day,” Terho says. “If you are losing light, or in rugged terrain, always take the safest option.”
Stay tuned for the final article in our series on way-finding: Tips and tricks for handling challenging situations in the mountains.
Lead images:
Photo by Krisjanis Mezulis on Unsplash
Photo by Fabrizio Conti on Unsplash
Read more articles:
How to find your way in the mountains
7 tips to plan a route in the mountains
8 avalanche safety checks to tick off before the ski season
7 tips to find a safe route up the mountain