Suunto 9 Peak User Guide
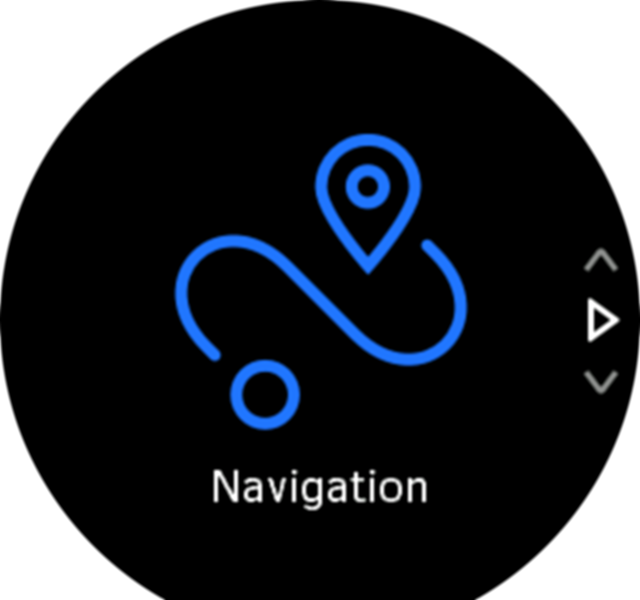
Navigation
Altitude navigation
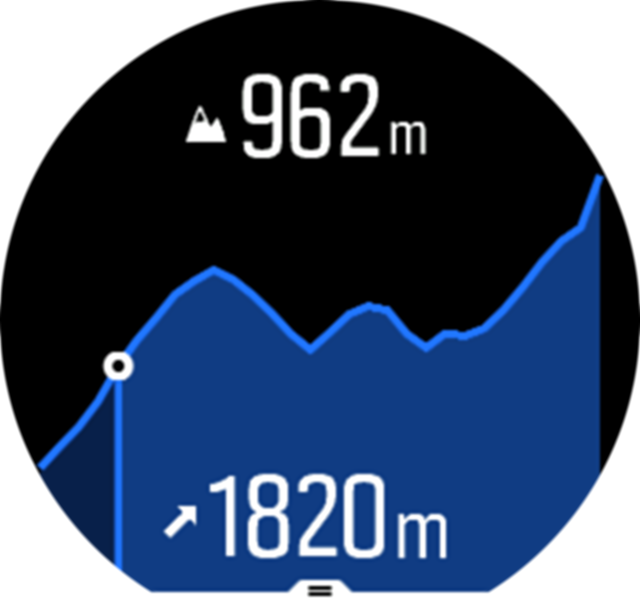
If you are navigating a route that has altitude information, you can also navigate based on ascent and descent using the altitude profile display. While in the main navigation display (where you see your route), swipe left or press the middle button to switch to the altitude profile display.
The altitude profile display shows you the following information:
- top: your current altitude
- center: altitude profile showing your current position
- bottom: remaining ascent or descent (tap screen to change views)
If you stray too far off from the route while using altitude navigation, your watch will give you an Off route message in the altitude profile display. If you see this message, scroll to the route navigation display to get back on track before continuing with altitude navigation.
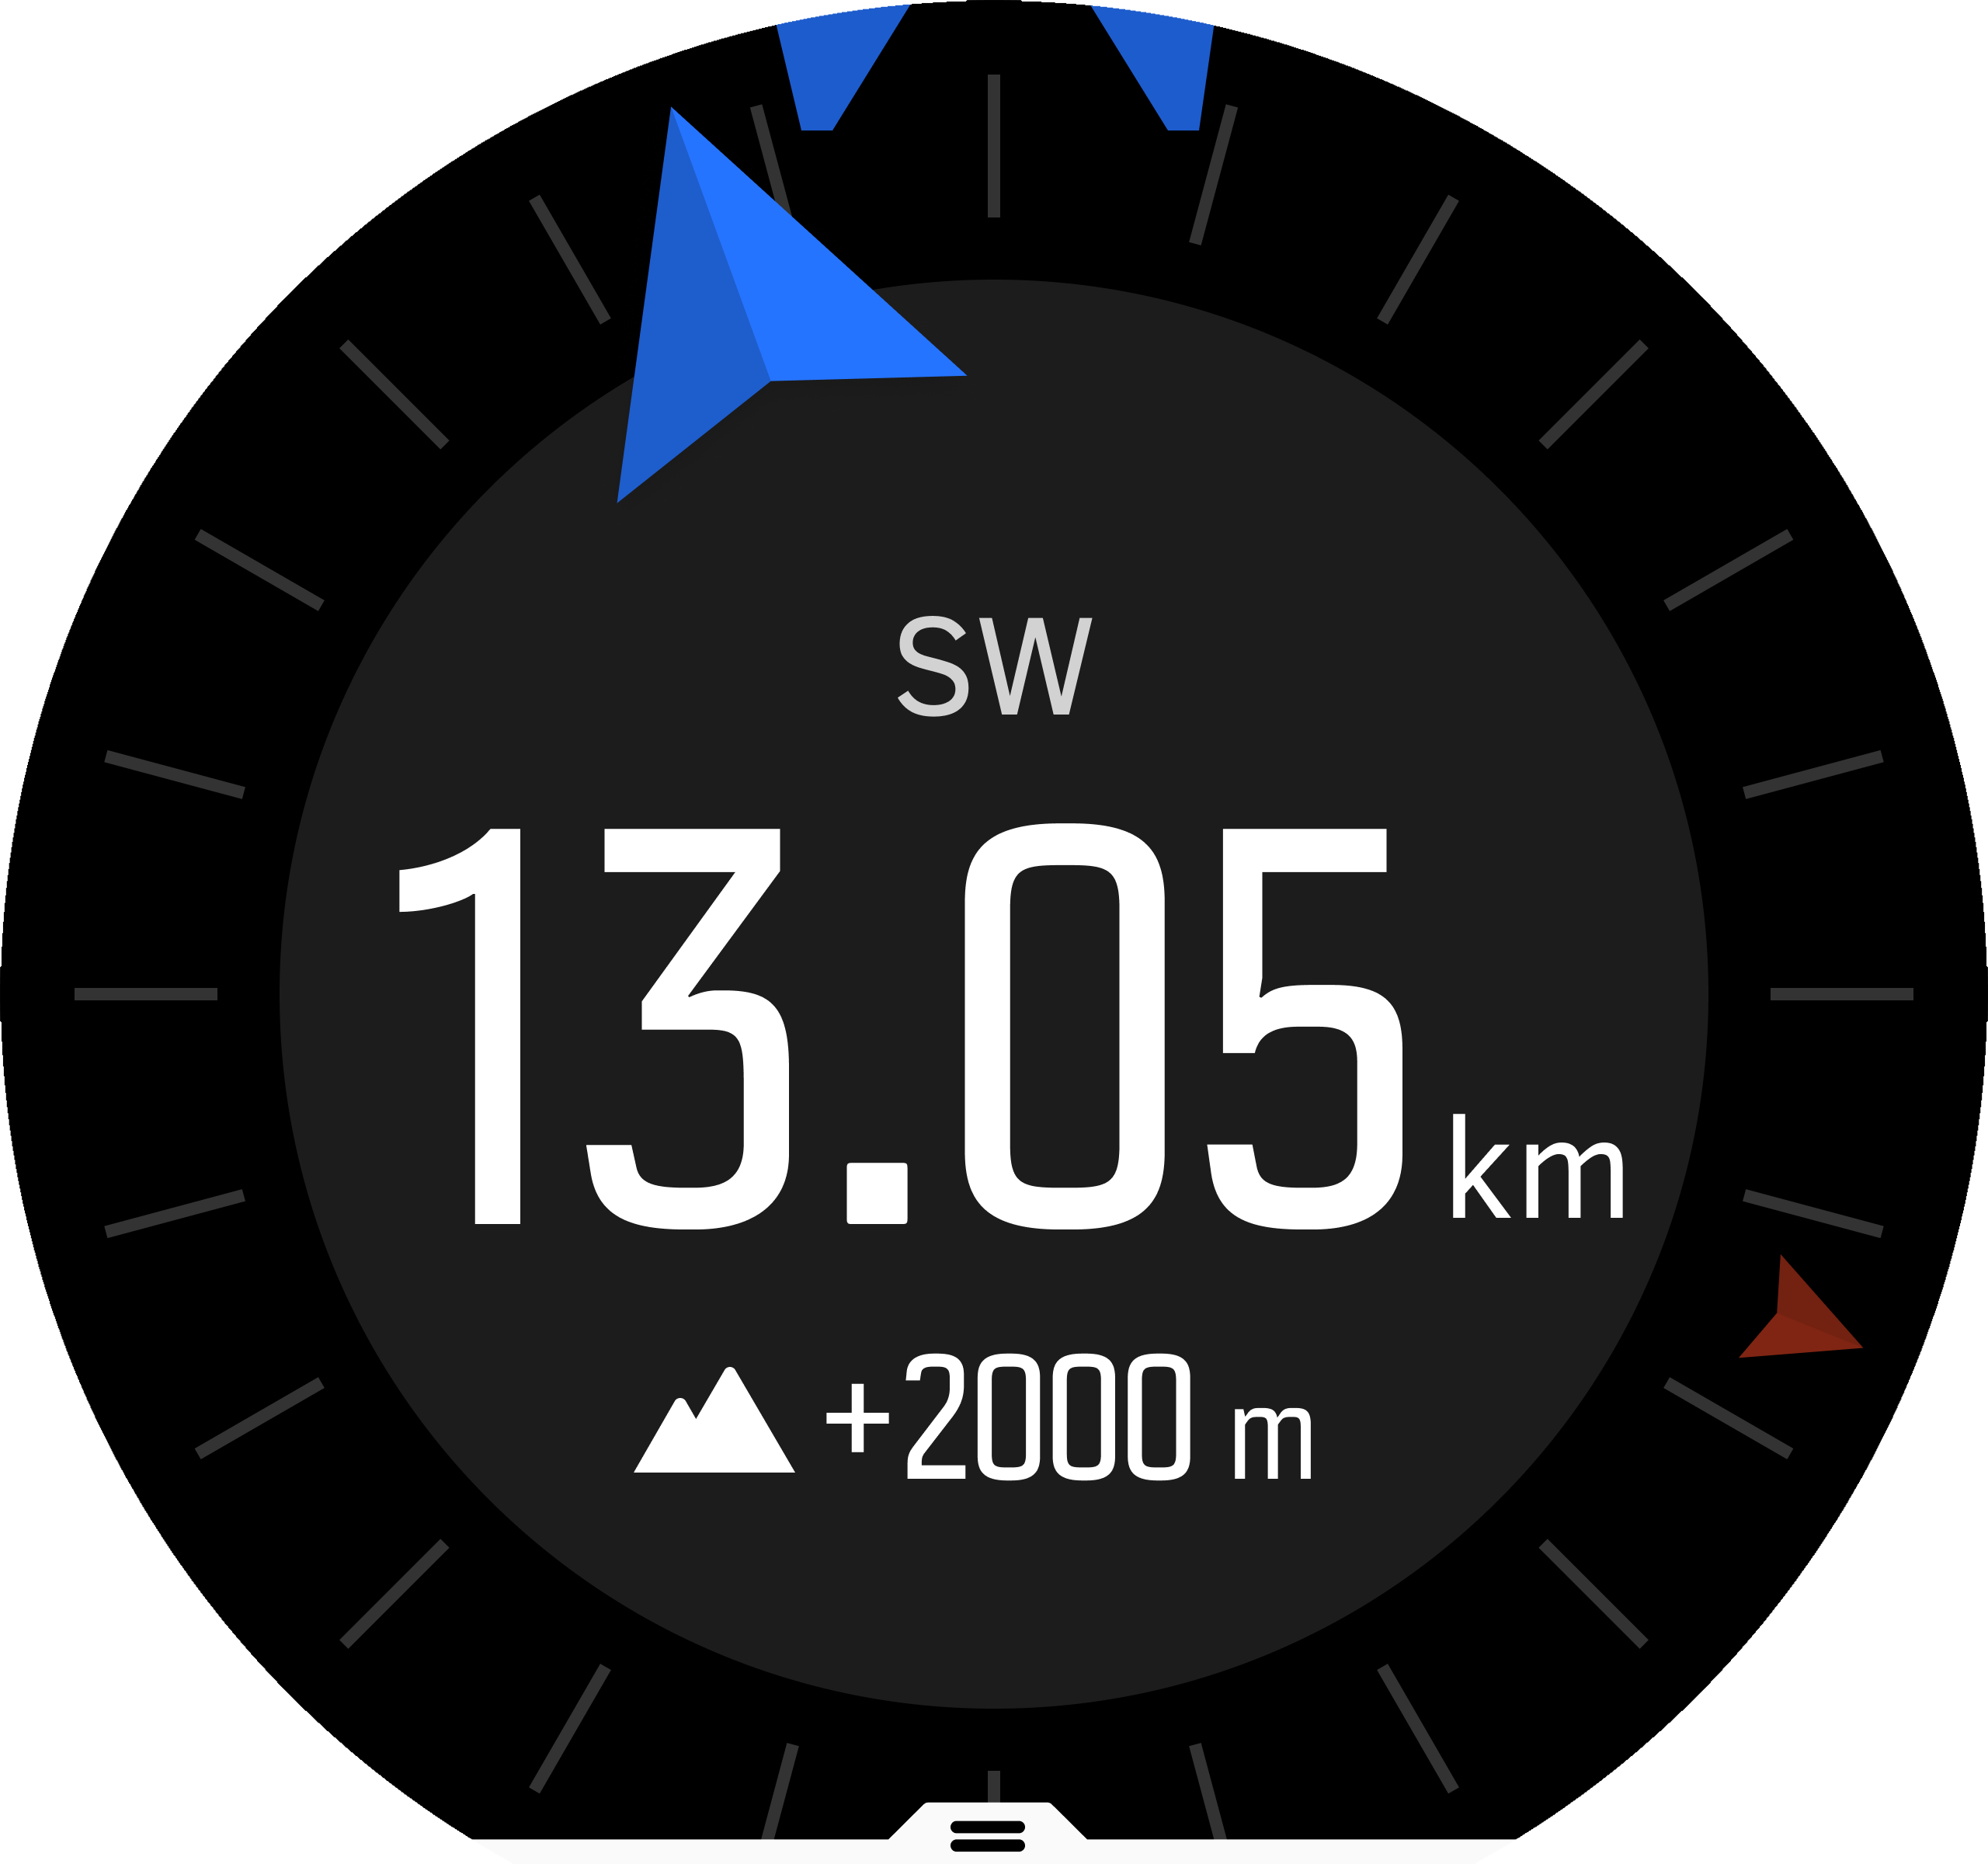
Bearing navigation
Bearing navigation is a feature that you can use outdoors to follow the target path for a location you see or have looked at from map ahead. You can use this feature stand alone as a compass or together with a paper map.
If you set the target distance and altitude while setting the direction, your watch can be used to navigate to that target location.
To use bearing navigation during an exercise (only available for outdoor activities):
- Before you start an exercise recording, swipe up or press the lower button to open the sport mode options.
- Tap Navigation or press the middle button.
- Select Bearing
- If needed, calibrate the compass by following the on-screen instructions.
- Point the blue arrow on the screen towards your target location and press the middle button.
- If you do not know the distance and altitude to the location, select No
- Press the middle button to acknowledge the set bearing and go back to the sport mode options.
- If you know the distance and altitude to the location, select Yes
- Enter the distance and altitude to the location.
- Press middle button to acknowledge the set bearing and go back to the sport mode options.
To use bearing navigation without exercising:
- Scroll to Navigation by swiping down or pressing the top button.
- Select Bearing
- If needed, calibrate the compass by following the on-screen instructions.
- Point the blue arrow on the screen towards your target location and press the middle button.
- If you do not know the distance and altitude to the location, select No and follow the blue arrow to the location.
- If you do know the distance and altitude to the location, select Yes
- Enter the distance and altitude to the location and follow the blue arrow to the location. The display will also show the distance and altitude left to the location.
- Set a new bearing by swiping up or by pressing the lower button.
- End the navigation by pressing the top button.
Compass
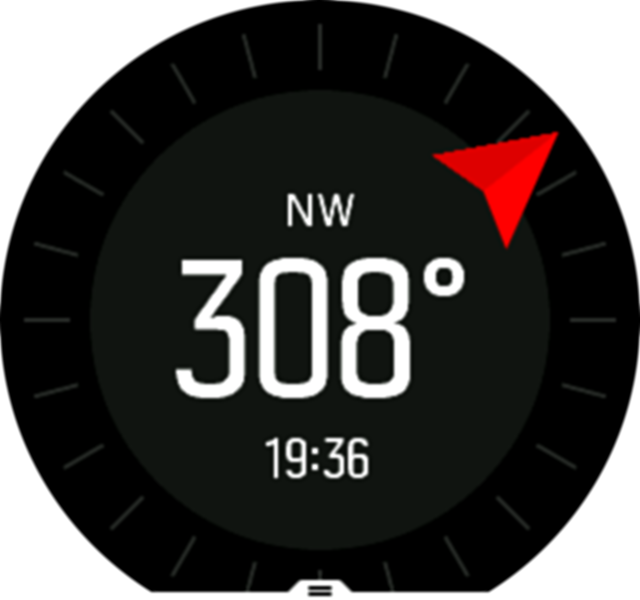
Suunto 9 Peak has a digital compass that allows you to orient yourself in relation to magnetic north. The tilt-compensated compass gives you accurate readings even if the compass is not horizontally level.
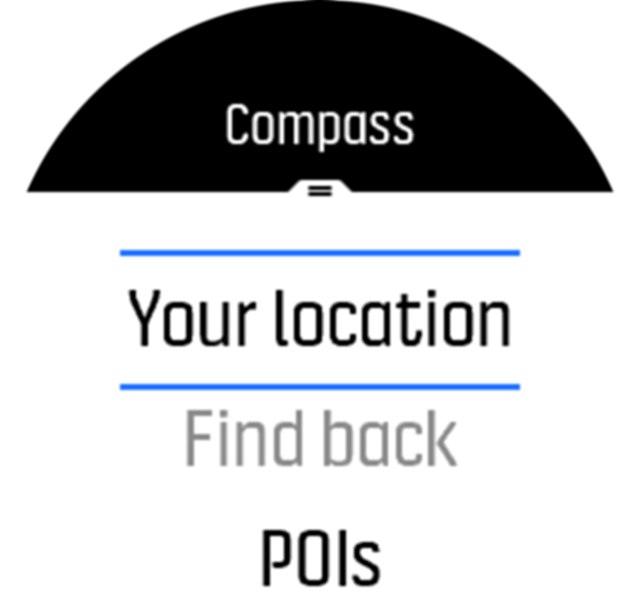
You can access the compass from the launcher under Navigation » Compass.
The compass display includes the following information:
- Arrow pointing to magnetic north
- Heading cardinal
- Heading in degrees
- Time of day (local time) or battery level; tap on screen to change views
To exit the compass, swipe right or keep the middle button pressed.
While you are in the compass display, you can swipe up from the bottom of the screen or press the lower button to open a list of shortcuts. The shortcuts give you quick access to navigation actions such as checking the coordinates of your current location or selecting a route to navigate.
Swipe down or press the upper button to exit the list of shortcuts.
Calibrating compass
If the compass is not calibrated, you are prompted to calibrate the compass when you enter the compass display.
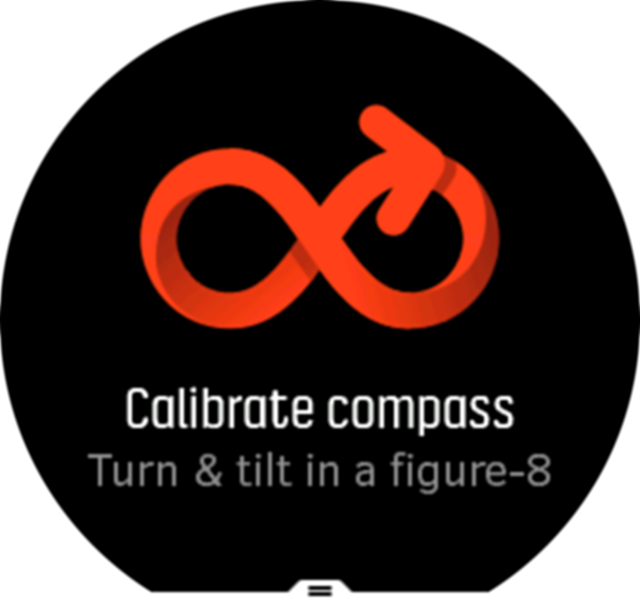
If you want to re-calibrate the compass, you can start the calibration again from the settings under Navigation » Navigation settings » Calibrate compass.
Setting declination
To ensure correct compass readings, set an accurate declination value.
Paper maps point to true north. Compasses, however, point to magnetic north – a region above the Earth where the Earth’s magnetic fields pull. Because magnetic North and true North are not at the same location, you must set the declination on your compass. The angle in between magnetic and true north is your declination.
The declination value appears on most maps. The location of magnetic north changes yearly, so the most accurate and up-to-date declination value can be found from websites such as www.magnetic-declination.com).
Orienteering maps, however, are drawn in relation to magnetic north. If you are using an orienteering map, you need to turn the declination correction off by setting the declination value to 0 degrees.
You can set your declination value from the settings under Navigation » Navigation settings » Declination.
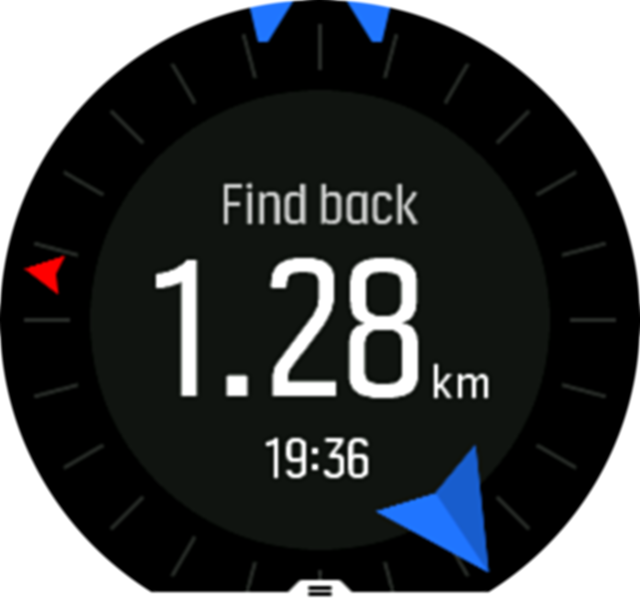
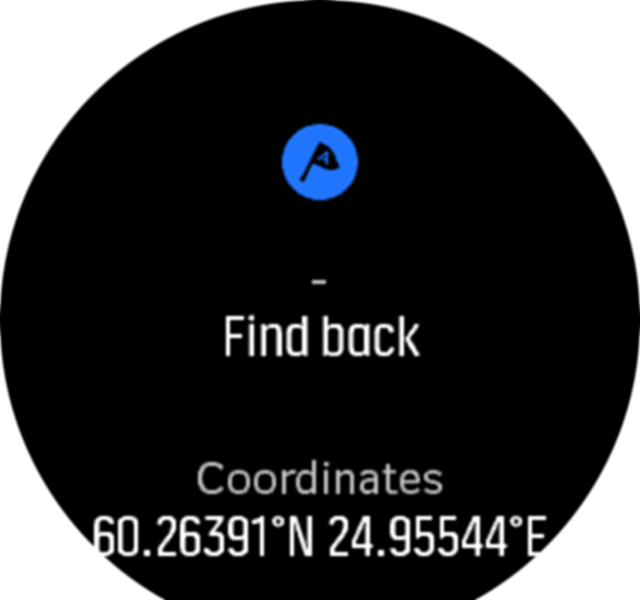
Find back
If you are using GPS when recording an activity, Suunto 9 Peak automatically saves the starting point of your exercise. With Find back, Suunto 9 Peak can guide you directly back to your starting point.
To start Find back:
- Start an exercise with GPS.
- Swipe left or press the middle button until you have reached the navigation display.
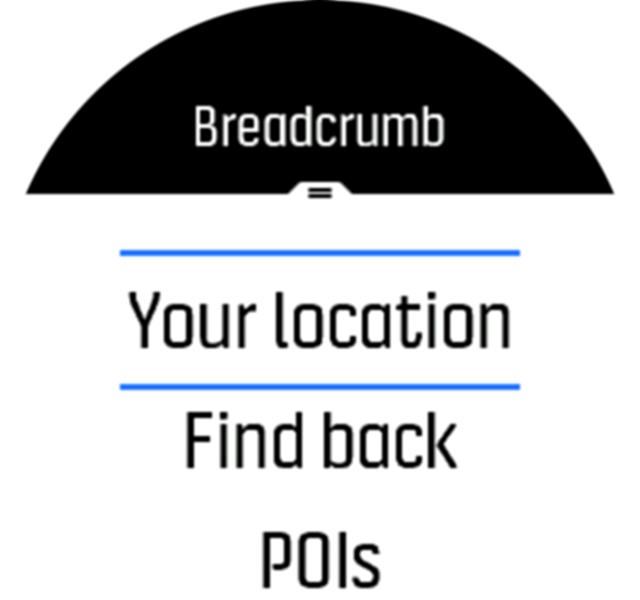
- Swipe up or press the lower button to open the shortcut menu.
Scroll to Find back and tap the screen or press the middle button to select.
The navigation guidance is shown as the last display on the selected sport mode.
To view additional details about your current position:
- From the Find back view, swipe up or press the lower button to open the shortcut menu.
Select Details.
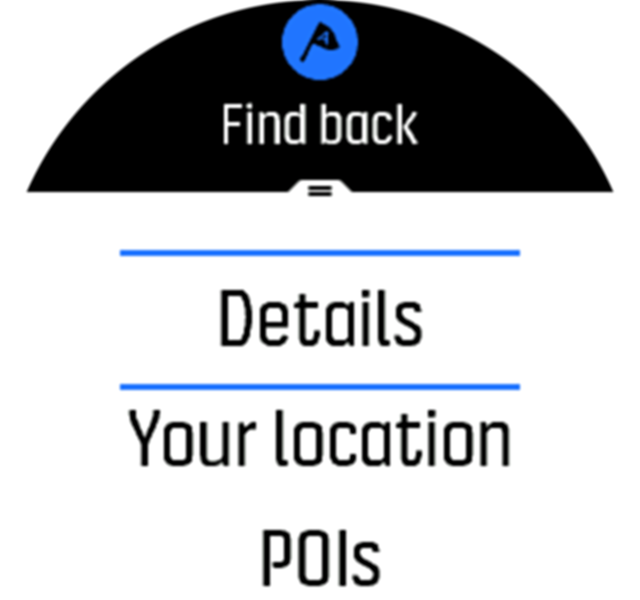
Swipe up or press the lower button to scroll through the list.
Swipe right or press the middle button to exit the details view.
Routes
You can use your Suunto 9 Peak to navigate routes. Plan your route with Suunto app and transfer it to your watch with the next sync.
To navigate on a route:
- Swipe down or press the upper button to open the launcher.
Scroll to Navigation and tap on the icon or press the middle button.
Scroll to Routes and press the middle button to open your list of routes.
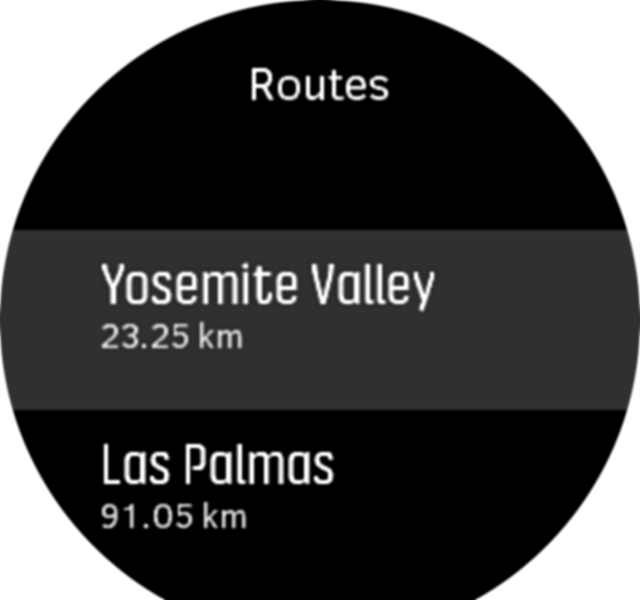
Scroll to the route you want to navigate to and press the middle button.
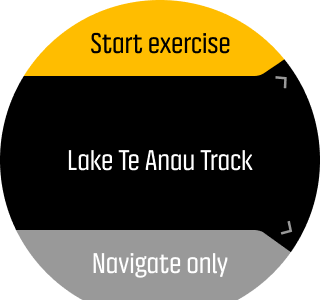
Select Start exercise if you want to use the route for exercising or select Navigate only if you only want to navigate the route.
NOTE:If you only navigate the route, nothing will be save or logged in Suunto app.
- Press the upper button again at any time to stop navigating.
Tap the screen to switch between the overview map and a more detailed view.
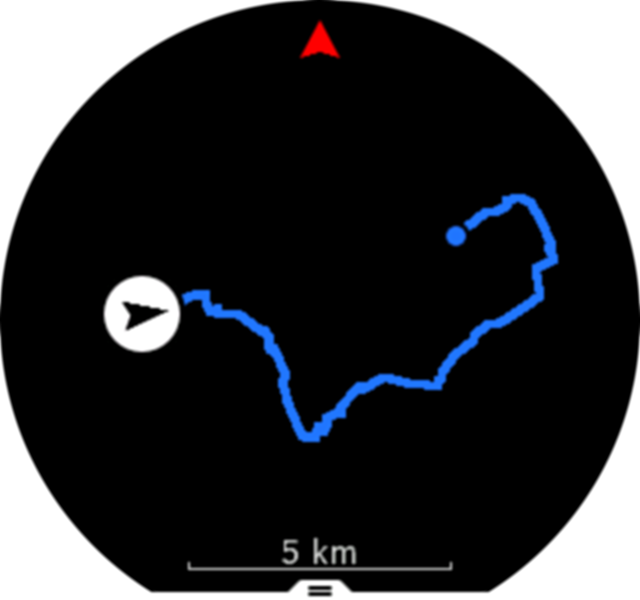
In the detailed view, zoom in and out by tapping the screen or keeping the middle button pressed. Adjust the zoom level with the upper and lower buttons.

While you are in the navigation display, you can swipe up from the bottom of the screen or press the lower button to open a list of shortcuts. The shortcuts give you quick access to navigation actions such as saving your current location or selecting another route to navigate.
It is also possible to start an exercise from the shortcut list. Selecting Start exercise will open the sport modes menu and you can start recording your exercise. If you end the exercise, the navigation will also end.
All sport modes with GPS also have a route selection option. See Navigating during exercise.
Navigation guidance
As you navigate a route, your watch helps you stay on the correct path by giving you additional notifications as you progress along the route.
For example, if you go more than 100 m (330 ft) off route, the watch notifies you that you are not on the right track, as well as lets you know when you are back on route.
Once you reach a waypoint of POI on the route, you get an informative popup showing you the distance and estimated time en route (ETE) to the next waypoint or POI.
If you navigating a route that crosses itself, such as a figure-8, and you make a wrong turn at the crossing, your watch assumes you are intentionally going in a different direction on the route. The watch shows the next waypoint based on the current, new direction of travel. So, keep an eye on your breadcrumb trail to ensure you are going the right way when you are navigating a complicated route.
Turn-by-turn navigation
When creating routes in Suunto app, you can choose to activate turn-by-turn instructions. When the route is transferred to your watch and used for navigation, it will give you turn-by-turn instructions with a sound alert and information on which way to turn.
Turn-by-turn navigation powered by Komoot
If you are a Komoot member, you can find or plan routes with Komoot and sync these to your Suunto 9 Peak via Suunto app. In addition, your exercises recorded with your watch will automatically be synchronized to Komoot.
When using route navigation with your Suunto 9 Peak together with routes from Komoot, your watch will give you turn-by-turn instructions with a sound alert and a text on which way to turn.

To use turn-by-turn navigation powered by Komoot:
- Register at Komoot.com
- In Suunto app, select partner services.
- Select Komoot and connect by using the same credentials you used at the Komoot registration.
All your selected or planned routes (called “tours” in Komoot) in Komoot will automatically synchronize to Suunto app, which you then easily can transfer to your watch.
Follow the instructions in section Routes and select your route from Komoot to get turn-by-turn instructions.
For more information regarding the partnership between Suunto and Komoot, please see http://www.suunto.com/komoot
Komoot is currently not available in China.
Points of interest
A point of interest, or POI, is a special location, such as camping spot or vista along a trail, you can save and navigate to later. You can create POIs in Suunto app from a map and do not have to be at the POI location. Creating a POI in your watch is done by saving your current location.
Each POI is defined by:
- POI name
- POI type
- Date and time created
- Latitude
- Longitude
- Elevation
You can store up to 250 POIs in your watch.
Adding and deleting POIs
You can add a POI to your watch either with Suunto app or by saving your current location in the watch.
If you are outside with your watch and come across a spot you want to save as a POI, you can add the location directly in your watch.
To add a POI with your watch:
- Swipe down or press the upper button to open the launcher.
- Scroll to Navigation and tap on the icon or press the middle button.
- Swipe up or press the lower button to scroll down to Your location and press the middle button.
- Wait for the watch to activate GPS and find your location.
- When the watch displays your latitude and longitude, press the upper button to save your location as a POI and select the POI type.
- By default the POI name is the same as the POI type (with a running number after it). You can edit the name later in Suunto app.
Deleting POIs
You can remove a POI by deleting the POI from the POI list in the watch or removing it in Suunto app.
To delete a POI in your watch:
- Swipe down or press the upper button to open the launcher.
- Scroll to Navigation and tap on the icon or press the middle button.
- Swipe up or press the lower button to scroll down to POIs and press the middle button.
- Scroll to the POI you want to remove from the watch and press the middle button.
- Scroll to the end of the details and select Delete.
When you delete a POI from your watch, the POI is not permanently deleted.
To permanently delete a POI, you need to delete the POI in Suunto app.
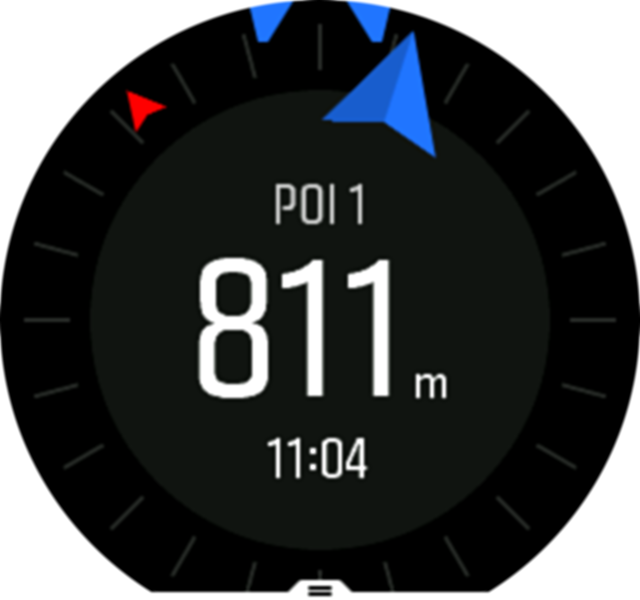
Navigating to a POI
You can navigate to any POI that is in your watch POI list.
When navigating to a POI, your watch uses full power GPS.
To navigate to a POI:
- Swipe down or press the upper button to open the launcher.
- Scroll to Navigation and tap on the icon or press the middle button.
- Scroll to POIs and press the middle button to open your list of POIs.
- Scroll to the POI you want to navigate to and press the middle button.
- Press the upper button to start navigating.
- Press the upper button again at any time to stop navigating.
The POI navigation has two views:
- POI view with direction indicator and distance to the POI
- map view showing your current location relative to the POI and your breadcrumb trail (the track you have traveled)
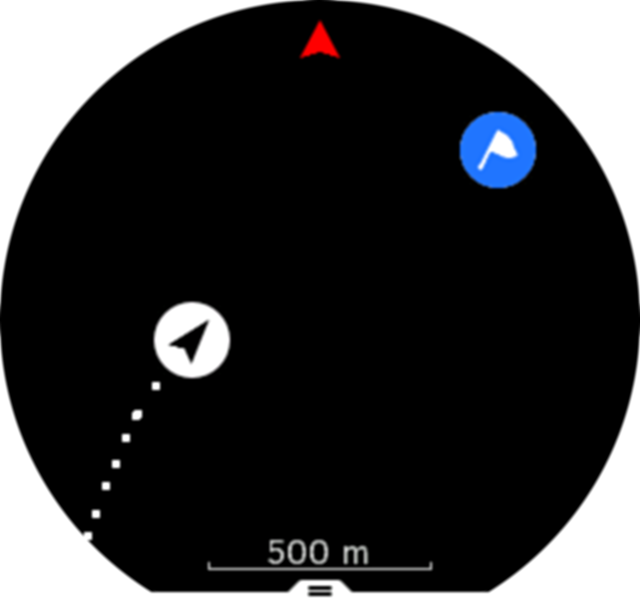
Swipe left or right, or press the middle button, to switch between views.
While in the POI view, tap on the screen to see additional information in the lower row such as altitude difference between current position and POI and estimated time of arrival (ETA) or en route (ETE).
In the map view, other POIs nearby are shown in gray. Tap on the screen to switch between the overview map and a more detailed view. In the detailed view, you adjust the zoom level by pressing the middle button and then zooming in and out with the upper and lower buttons.
While navigating, you can swipe up from the bottom of the screen or press the lower button to open a list of shortcuts. The shortcuts give you quick access to POI details and actions such as saving your current location or selecting another POI to navigate to, as well as ending navigation.
POI types
The following POI types are available in Suunto 9 Peak:
| generic point of interest | |
| Bedding (animal, for hunting) | |
| Begin (start of a route or trail) | |
| Big game (animal, for hunting) | |
| Bird (animal, for hunting) | |
| Building, home | |
| Cafe, food, restaurant | |
| Camp, camping | |
| Car, parking | |
| Cave | |
| Cliff, hill, mountain, valley | |
| Coast, lake, river, water | |
| Crossroad | |
| Emergency | |
| End (end of a route or trail) | |
| Fish, fishing spot | |
| Forest | |
| Geogache | |
| Hostel, hotel, lodging | |
| Info | |
| Meadow | |
| Peak | |
| Prints (animal tracks, for hunting) | |
| Road | |
| Rock | |
| Rub (animal marking, for hunting) | |
| Scrape (animal marking, for hunting) | |
| Shot (for hunting) | |
| Sight | |
| Small game (animal, for hunting) | |
| Stand (for hunting) | |
| Trail | |
| Trail cam (for hunting) | |
| Waterfall |